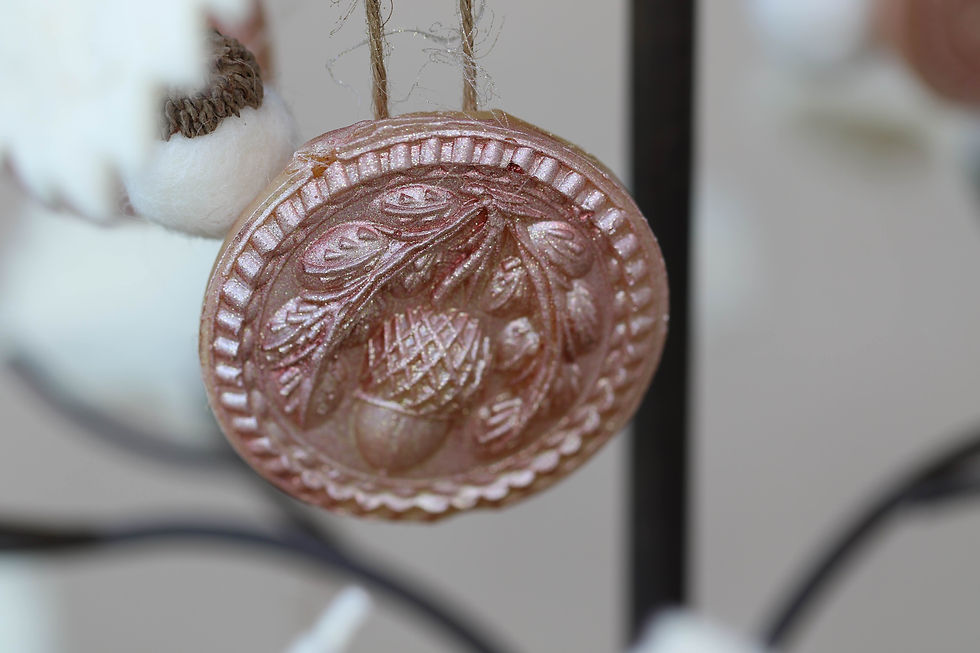
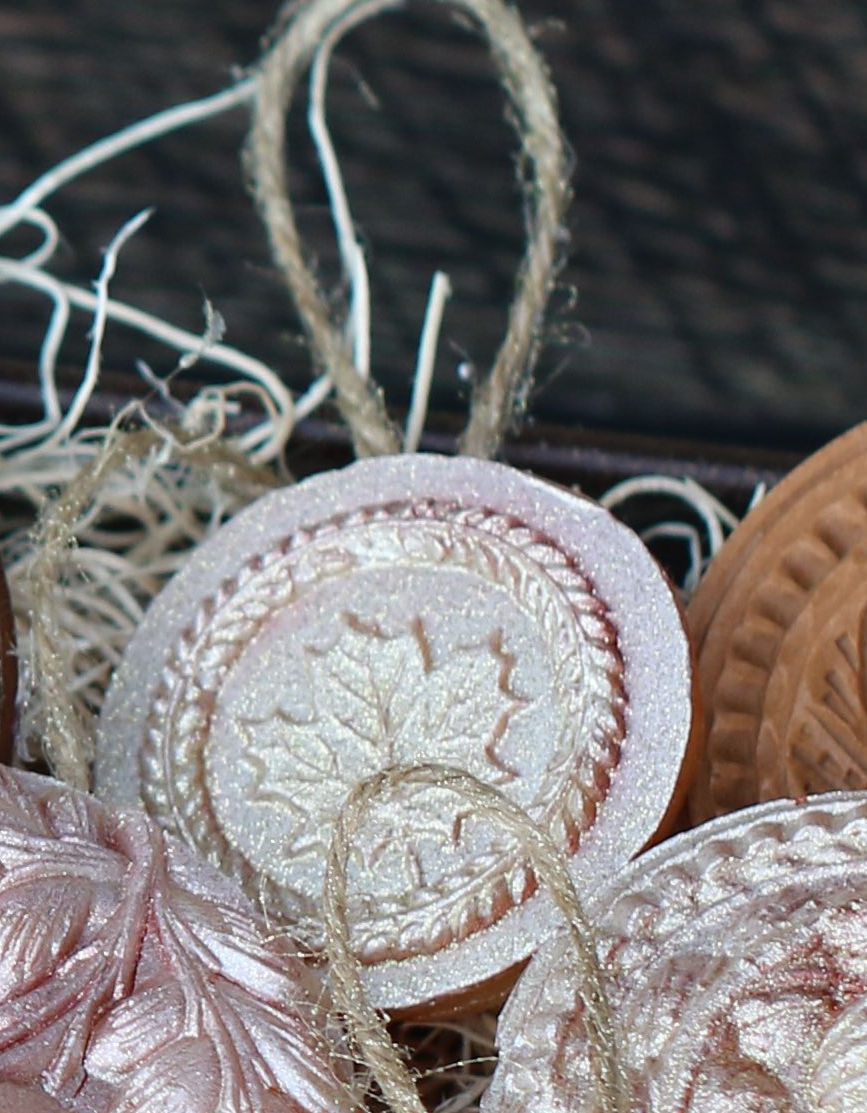
Fall Wax Ornaments
- Lee Shepherd
- Sep 27, 2021
- 2 min read
Updated: Oct 1, 2021
Directions for making wax ornaments below...


Cast Wax Ornaments
SUPPLY LIST:
Cookie Mold
Beeswax
Vegetable Oil (preferably cooking spray)
Pastry Brush
Paper Towel
Candle Making Pitcher
Double boiler Pot
1/8" - 1/4" wide ribbon or string
Butter knife
Decorative Paints
Brushes (non food use)
Instructions:
Create a dam using a metal cookie cutter (adhered by removable hot glue) or aluminum foil restricted with an elastic band. For the cookie cutter method: Apply removable hot glue around the outside perimeter of the metal cookie cutter allowing the glue to fill any holes where the wax may escape.
Refrigerate your cookie mold with dam for at least ten minutes prior to casting.
Melt the beeswax in a wax pitcher designed for candle making. These can be purchased at any craft store. Using a double boiler, melt wax. Do not heat the wax directly over a burner.
Warning: Wax if flammable and can easily catch fire. If wax catches fire, DO NOT throw water on it. Instead, cover flames with a lid to cut off the oxygen.
Lightly oil cookie molds with vegetable oil, dabbing any residual oil with a paper towel.
Pour: Carefully pour melted wax into the cold cookie molds and set them aside to cool. Wax will shrink slightly as it cools.
Remove from mold. When wax has nearly hardened, flip mold upside down (cookie cutter side down) and tap to remove wax casting onto a counter top.
Apply Hanger: Cut string or ribbons to desired length. Flip wax ornament face down. Use a hot glue gun or heat a butter knife (over boiling water) and press hot knife into area you wish to place the hanger. Place string or ribbon onto melted wax area and allow back to harden before flipping ornament face-up.
Decorate: You may paint and decorate ornaments using luster dust, acrylic paints and translucent spray paint available at any art store.
© Copyright 2021 Gingerhaus, LLC, All rights reserved.


Comments